
Redboy (红孩儿) Stryfe

During freshman year in college, I bought a Nerf Stryfe, a semi-auto, flywheel powered blaster. It performed pretty ‘meh’ in stock form, averaging ~70 FPS (feet per second). I wanted to upgrade it to use it in one of my colleges’s nerf wars.
The Stryfe (later named Redboy) ended up being rebuilt multiple times throughout my time at school, getting worked on in spare weekends and being shelved for months at a time. It was actually kind of cool to see this blaster evolve through different iterations as my skills grew and I revisited it.
Stage 1: Freshman year (Super jank)
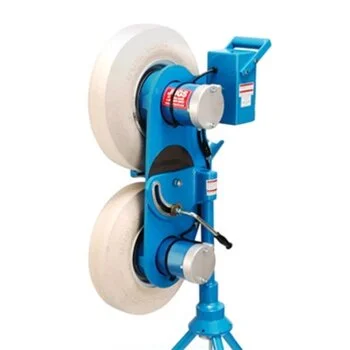
A flywheel blaster works a lot like a baseball pitching machine, with two wheels (called flywheels) spinning in opposite directions, to grab the dart/baseball and exert a frictional force on them, shooting them out of the business end.

Those flywheels are powered by a pair of motors, fitted into a flywheel cage. The stock motors the blaster ships with are only toy-grade and don’t perform very well.
So I bought a pair of MTB Hellcat Motors, spec-ed to much higher RPM and torque.

Hellcats are designed for 12v, so I sourced a Bosch drill battery to power them.

In addition, I 3D-printed Hawki007’s BSP Proto Cage v4.5, a unibody flywheel cage to reduce vibrations and improve consistency over Nerf’s two-piece stock cage.
Together, this motor + cage combination fired darts at ~130 FPS.

I modeled and printed a rather ugly stock using TinkerCAD, and clumsily glued a flashlight to the front. The stock was large in order to house the drill battery inside.
I did this all in my dorm room, as my school workshop didn’t approve of ‘non-academic’ projects. smh
This would be the state of the blaster for a while, before Stage 2.
Stage 2: Sophomore year (Less Jank)

At the end of Stage 1, the blaster was a lot larger than it needed to be, so in sophomore year, I came in and chopped the muzzle area off (like a sawed-off shotgun!)
In addition, I found a smaller battery and discarded the oversized yellow stock.
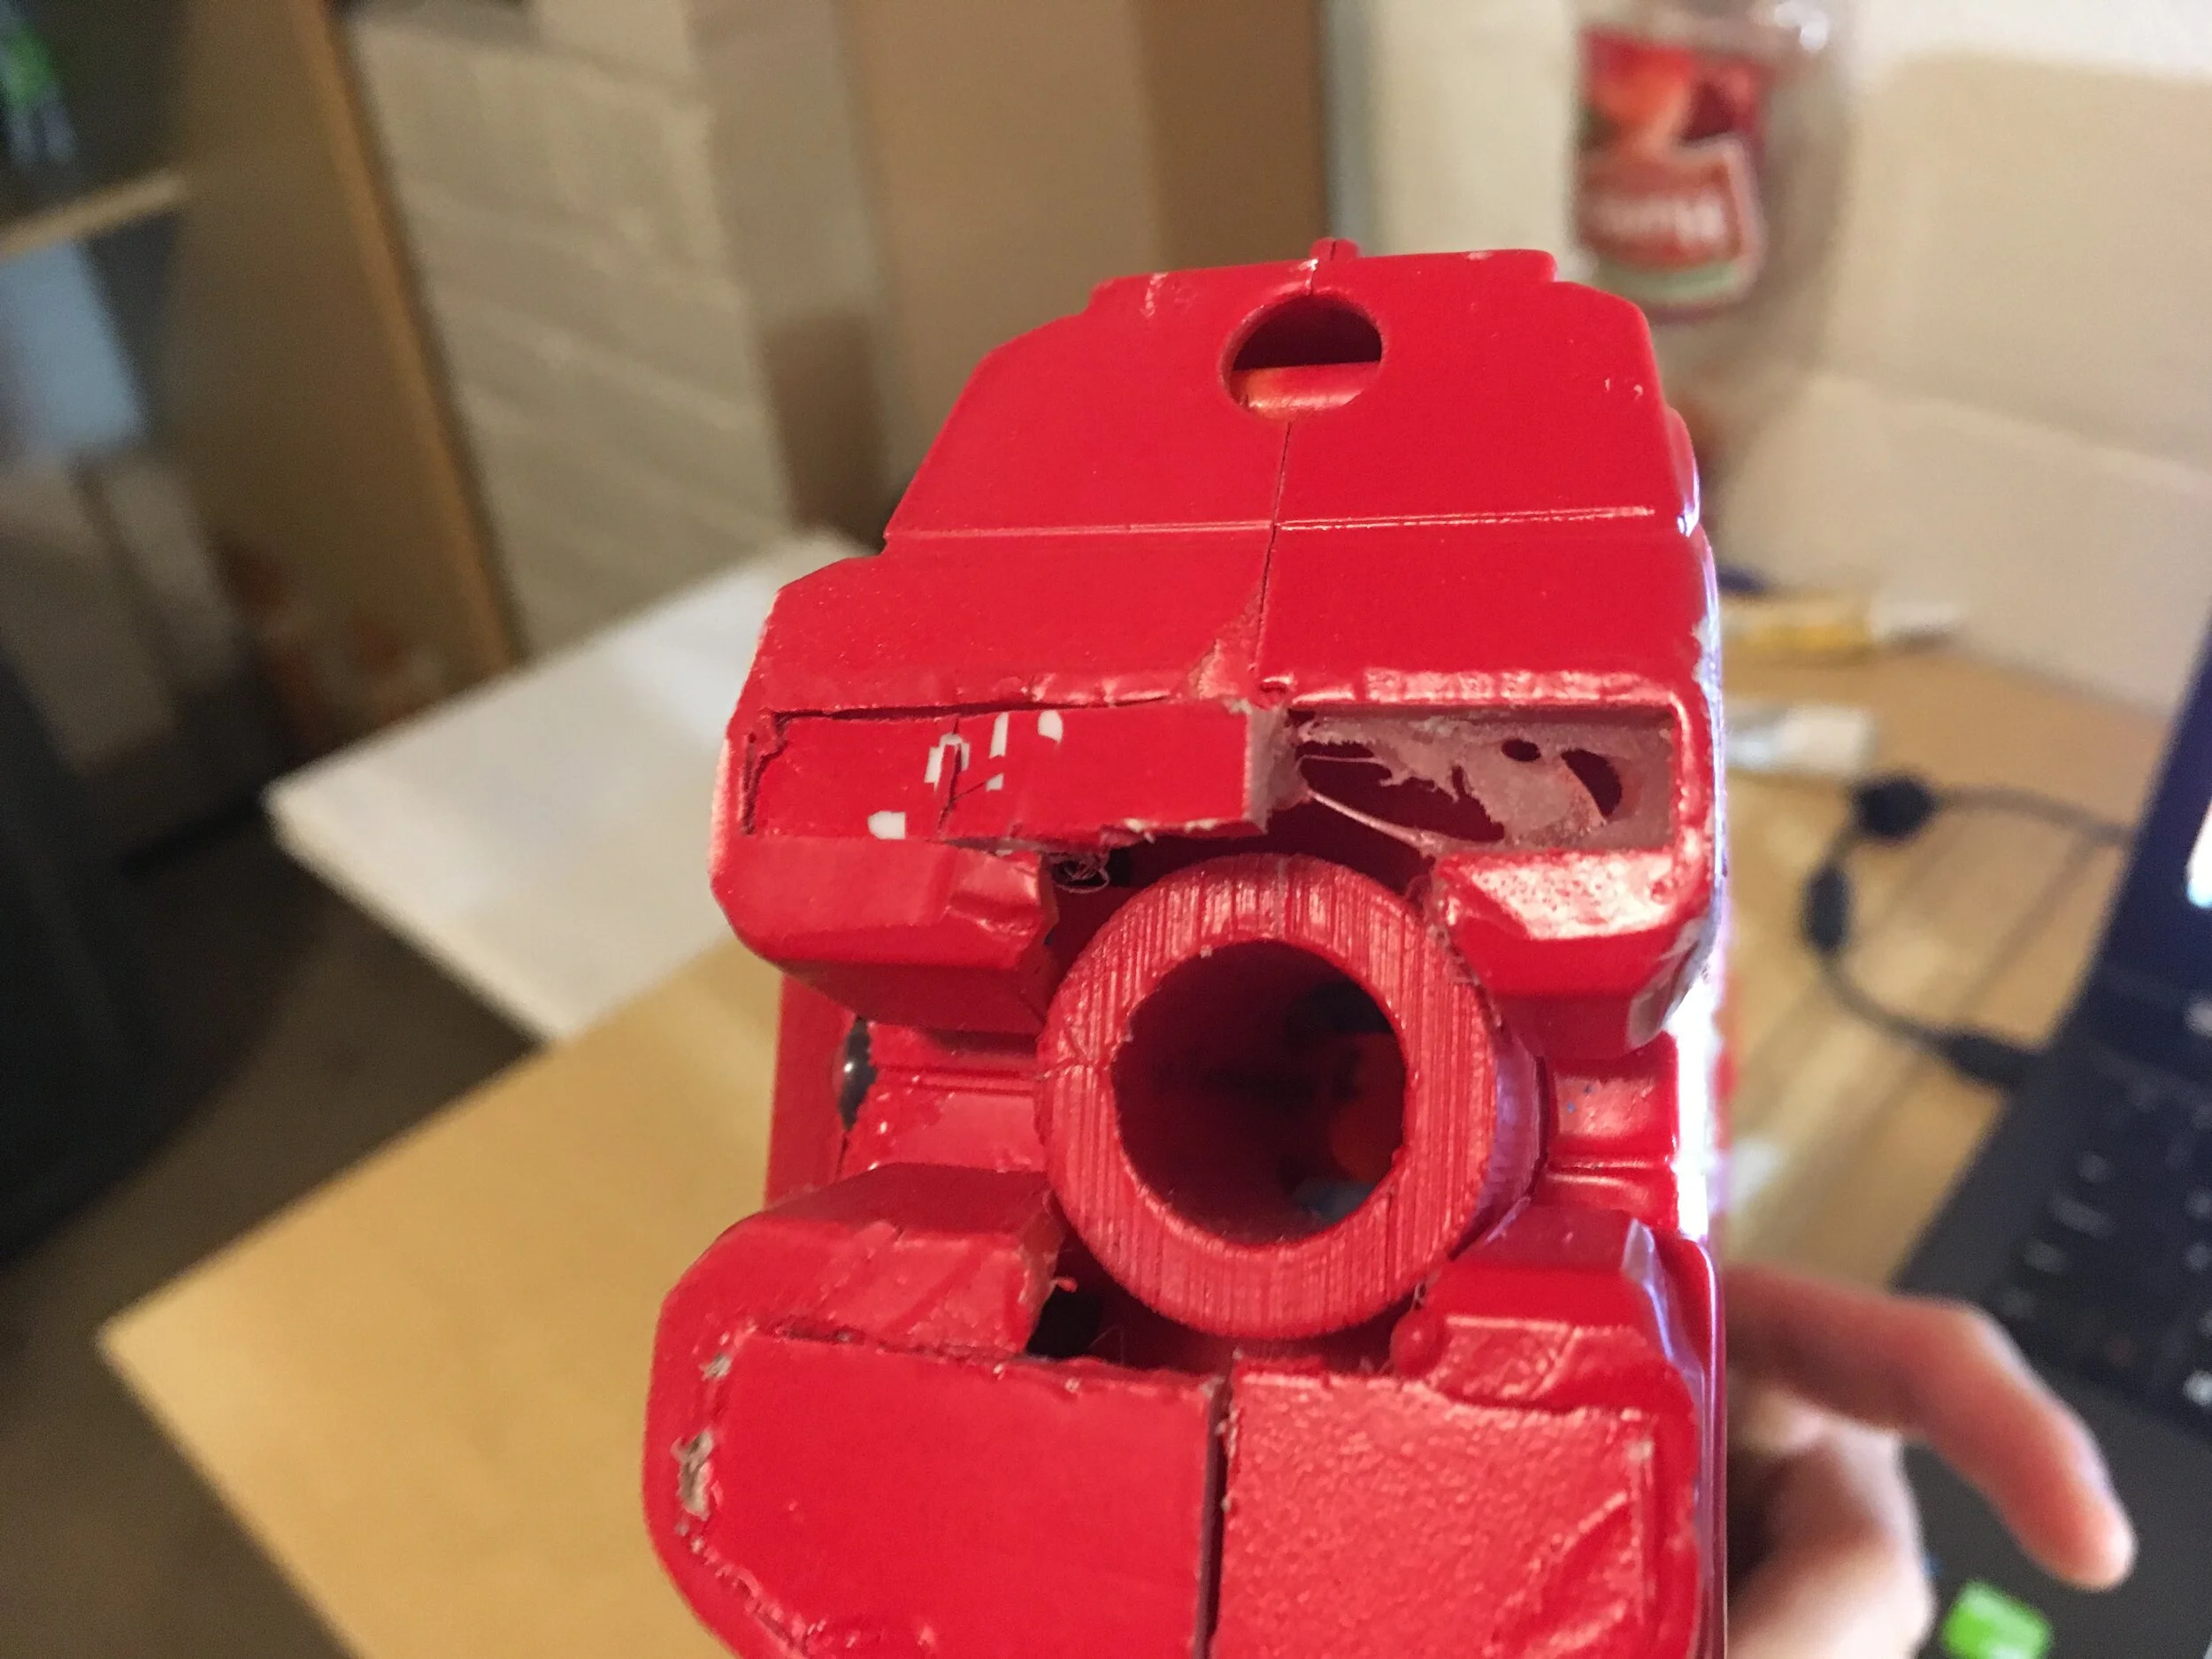
Kind of a shoddy fix, but to fill the holes left from cutting the front end, I cut some plastic out of a Sterilite shelving unit and hot glued them in place.
Super jank, but keep in mind this was probably only half an hour’s worth of work total, stolen in on weekends between homework and exams and other school stuff *sigh*

After a rushed paintjob with awful taping lines, this was the result. Red and white were the only paint colors I could scrounge from the workshop.
Also, to fill in where the stock used to be, I printed a ‘stock cap’ in red.

Also a side-by-side shot with Redboy’s older sibling, Nigoki!
(For whom a writeup might be in the works 👀)
I fielded these both in Duncan College’s Donnybrook nerf battle, where I destroyed all the competition. It was probably unfair, but I had fun XD
*Also realizing I really ran hard with the red/white color scheme for a few years…
Stage 3: Junior year (‘acceptable’)
By this time, a lot of friends and acquaintances knew about my hobby of building crap. One of my good friends Jae kept pestering me to build one for him, so I decided to fix this one up and let him have it!
By this point I had realized I enjoyed building things more than owning them, so I was more than happy to give it away.
First things first, I couldn’t give the blaster away in such a jank state!
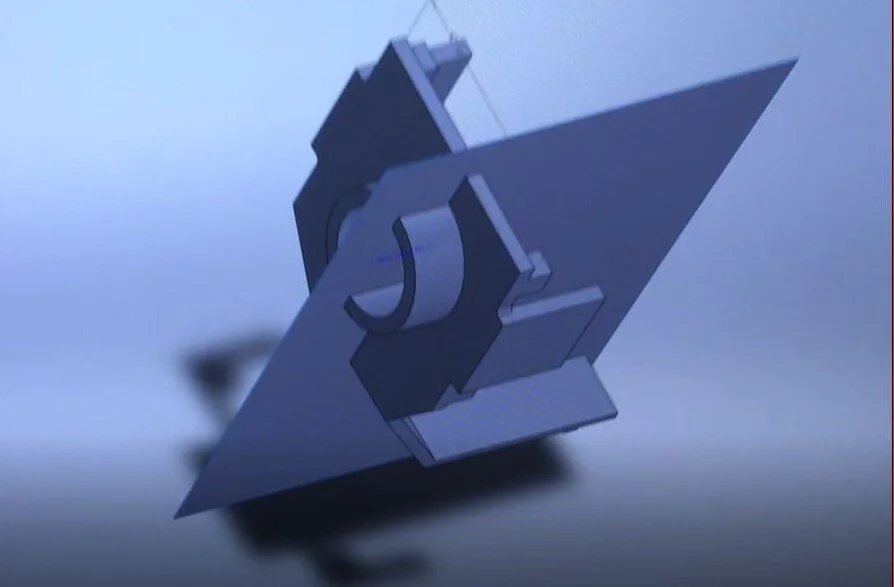
I modelled a front end shroud (in Solidworks this time!) to cover the front end holes.

Here is a test fitting pic! There was still a clearance issue near the bottom, something I had to fix…

I temporarily tacked the shroud on from the outside with hot glue, then used liquid epoxy in the inside as the actual final adhesive.
The hot glue was later removed with rubbing alcohol.

Redid the wiring while I was at it; freshman Brian was god-awful at soldering.
Fun fact: the microswitch in the handle was actually salvaged from an old broken vacuum I had.
I try to incorporate parts from otherwise end-of-life, landfill-bound appliances whenever possible. Less waste and on some level, I’m sure the parts are glad to have a new life. No one gets left behind :’)

While I was rewiring, I swapped in some cheaper, lower-performance motors in and kept the Hellcats (they were expensive! I’d be a fool to give those away).
This setup spat darts out at a still-respectable ~110 FPS.
I’ll say it’s ‘detuned for longevity’ hahaha

Used wood filler to blend the printed pieces into the body. Apoxie sculpt or fiberglass filler would have been better, but No $$$. I just spread it on with my fingers – its got the consistency of peanut butter.

After the first round of sanding. There were still some divots and pitting, so it took 3 more rounds of filler + sanding until I decided it was good enough.
An added complication was that since wood filler is water-soluble, I couldn’t wash the shell of the blaster to get dust off, like I would be able to with epoxy or fiberglass. My solution was to use compressed air to dust everything off while keeping it dry.

‘Final’ product! It looks a lot sleeker than it did freshman year, that’s for sure.
I learned a lot of stuff on this build, and am honestly kind of glad to have it taken off my hands lol.


Oh! I just realized I’ve never explained the name.
I named it Redboy after a gun from the Artemis Fowl series I used to read in middle school (It’s the shotgun-looking thing on the lizard’s back). And also because I painted it red lol
But also! Time for a cultural lesson:
In the Chinese legend Journey to the West, there is a character named Red Boy ‘红孩儿’, so the name fit on multiple levels!