

Hello once again!
In this edition of Brian Builds, Brian builds SAGA (Superior Assault Gauntlet Apparatus) MK II, pair of Bakguo-inspired Nerf gauntlets!
This project borrows from, and builds off my previous works, the original SAGA MK I, and both cannons from the BAKI lineage!
Art by Xiao Tong Kong

Though Bakugo is a man who needs no introduction, here is one anyway.
The coolest character in My Hero Academia, Bakugo is an aspiring superhero student with the powerful Explosion ability, which allows him to ignite fiery, concussive blasts from his palms.
In the series, his hero equipment includes a pair of arm-mounted ‘Grenadier Bracers’ to help him manage his own blast recoil.
Art by @chiyaya666 on Twitter

How it all started:
Last spring, I got recruited into Foam Dart Marksman, a Houston Nerf invitational club! I was impressed by the caliber of the group - they held weekly training, most had high power modified / custom blasters, and had a 2v2 league

As I didn’t have any other blasters on hand, my immediate thought was to field the SAGA gauntlet I had built two years prior!
However, by this point it was severely outdated and needed a heavy overhaul.

To start, I opened up the CAD model for SAGA MK I, which had sat untouched since 2019. (The green and yellow coloring was to help me track which parts had been fabricated so far, and which still needed to be made)
From there, I stripped off all unnecessary components, such as the actuating bayonet, gun sight, and decorative wing (based of an old Plymouth Superbird!).
I simplified the overall design, rounding out corners, eschewing separate exterior panels for a more skeletal design (but leaving room & attachment points for a cowl down the line), and made the front muzzle area less boxy.


At this point, I hadn’t actually committed to the Bakugo aesthetic yet, at least not consciously.
However, recent episodes of the anime (S5 E9)……BAKI’s aluminum shoulder bracket already taking heavy inspiration from Bakugo’s neck brace……And the fact that I am perhaps Bakugo’s #1 simp in existence, were all contributing factors to my decision to model SAGA MK II after his grenadier bracers.

In addition, the more I kept playing around in Solidworks - adding a cowl, visualizing parts in different colors, as well just having two more years of CAD experience in general - the more it occurred to me that:
“Oh shit! This might actually work!”
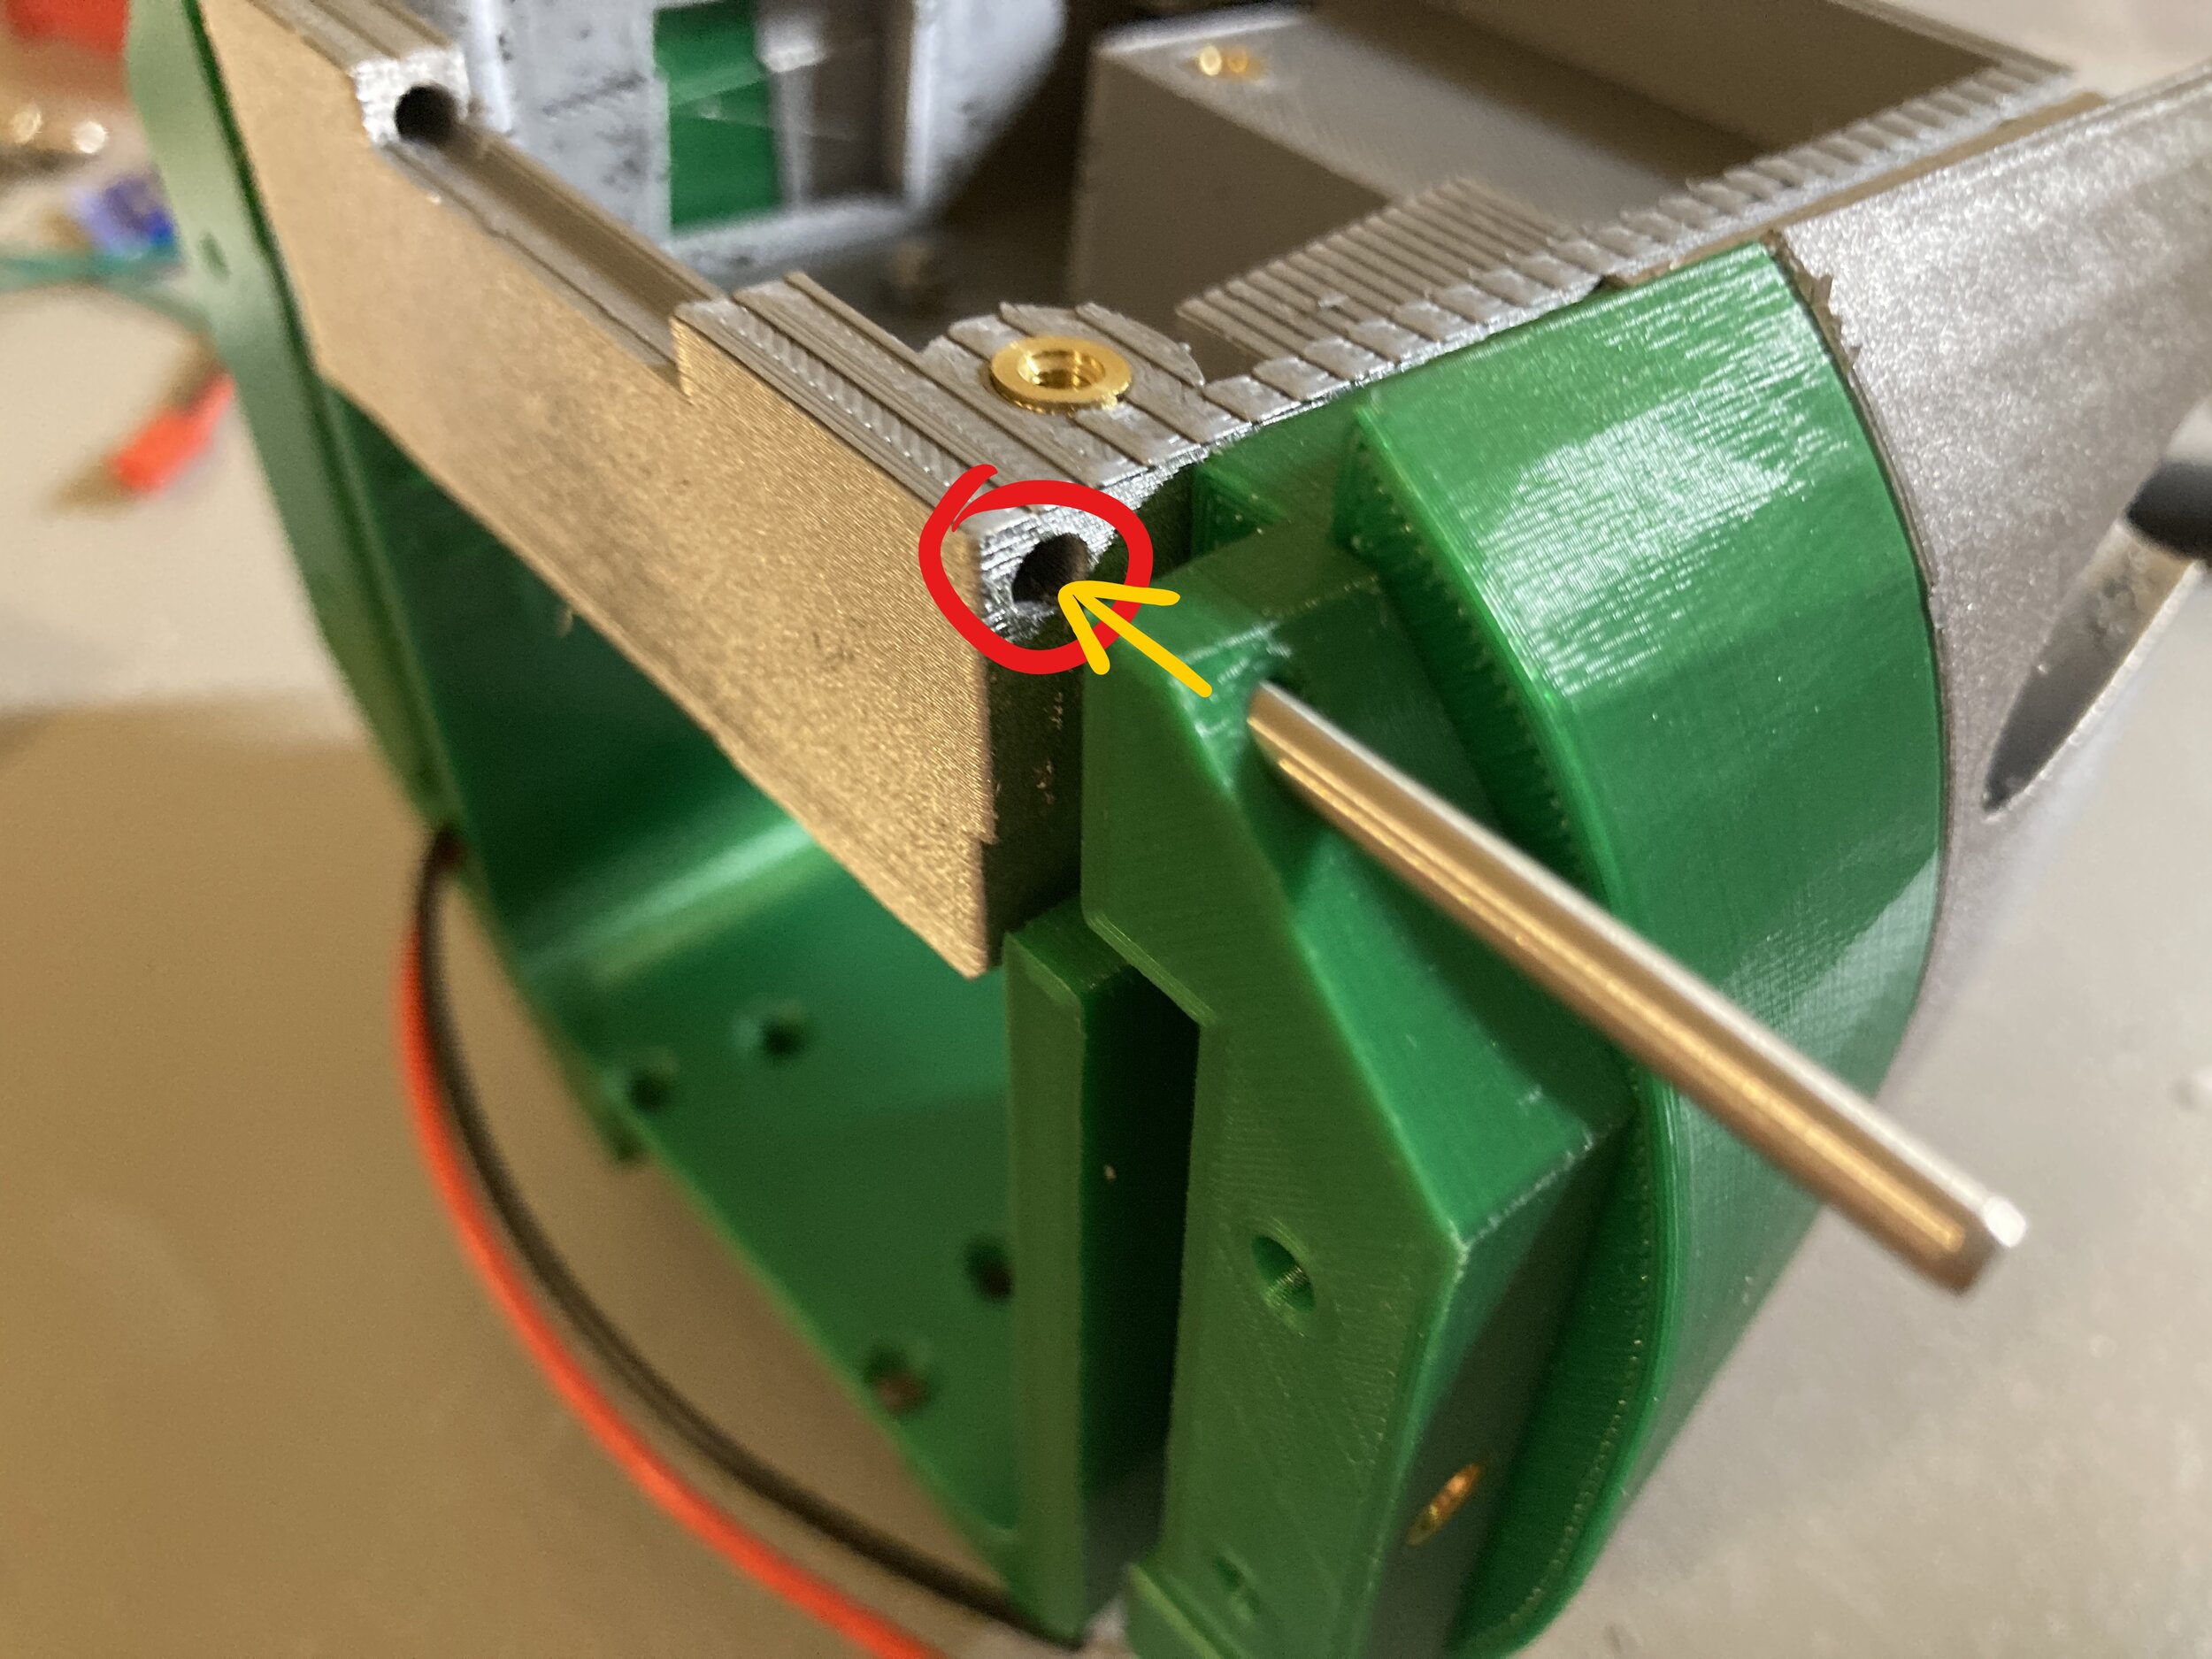
However, by using smaller 1/8” steel bearings instead, I was able to make the swivel much smaller, as well as move everything to the back for a simpler, more streamlined look.
(More on the swivel system later)

The scooped cutouts in the silver front and rear pieces weren’t in Bakugo’s normal design, but
inspired from a special edition artwork alternate take, and not present in the actual design

I printed out some early pieces! Here I am fitting them together.
I was really proud of my tolerances here! Everything fit in smoothly without needing any sanding, but was also geometrically constrained to stay where it needed to!

Slipping it over my arm and experiencing the effect for the first time was sooo cool and made me even more excited to continue.
I’ve scribbled out part of this picture to hide other ongoing secret projects (totally not to hide my messy room 😛).


I eventually got 1st-round piece printed to visualize things
After wrestling about it, and realizing I had already abandoned the low-budget blaster, I decided to print a second gauntlet for dual wielding!
However, the process had just begun and so let me take you through, component by component!


The first part we’ll cover is the tunnel! In addition conveying the HIRs from their hose acceptor nozzle to the firing system, it has several extra functions!
The first is to as well as accept the hose, accepts cables as well - power input as well as signal out to control backpack components!
The second was an LED ‘heartbeat’ indicator to show function
These wires all have carefully routed internal channels included, so that nothing is seen from the outside for max looks

At the risk of sounding too self-congratulatory, look at this godlike wire routing!
I even included little zip tie loops to help tie down loose wiring!

Added alignment pegs to connect it to the firing mechanism FWC
Coincidentally our next component!

SAGA MK I FWC

Explain index wheel

Low quality prints on Ender3

Lots of trouble getting the print at an acceptable detail on my Ender 3, so I resin printed it instead on my Mars 2! Insane detail and super quick prints, but with the drawbacks of expensive resin and the required washing/curing process.

PARTS@@!!!!!

Next, onto the wrist locker section of my gauntlet!
used it to make room to get my hand through, then snap back and close against the smaller wrist
It all begins with an idea. Maybe you want to launch a business. Maybe you want to turn a hobby into something more. Or maybe you have a creative project to share with the world. Whatever it is, the way you tell your story online can make all the difference.
It all begins with an idea. Maybe you want to launch a business. Maybe you want to turn a hobby into something more. Or maybe you have a creative project to share with the world. Whatever it is, the way you tell your story online can make all the difference.

Previous hinge
It all begins with an idea. Maybe you want to launch a business. Maybe you want to turn a hobby into something more. Or maybe you have a creative project to share with the world. Whatever it is, the way you tell your story online can make all the difference.
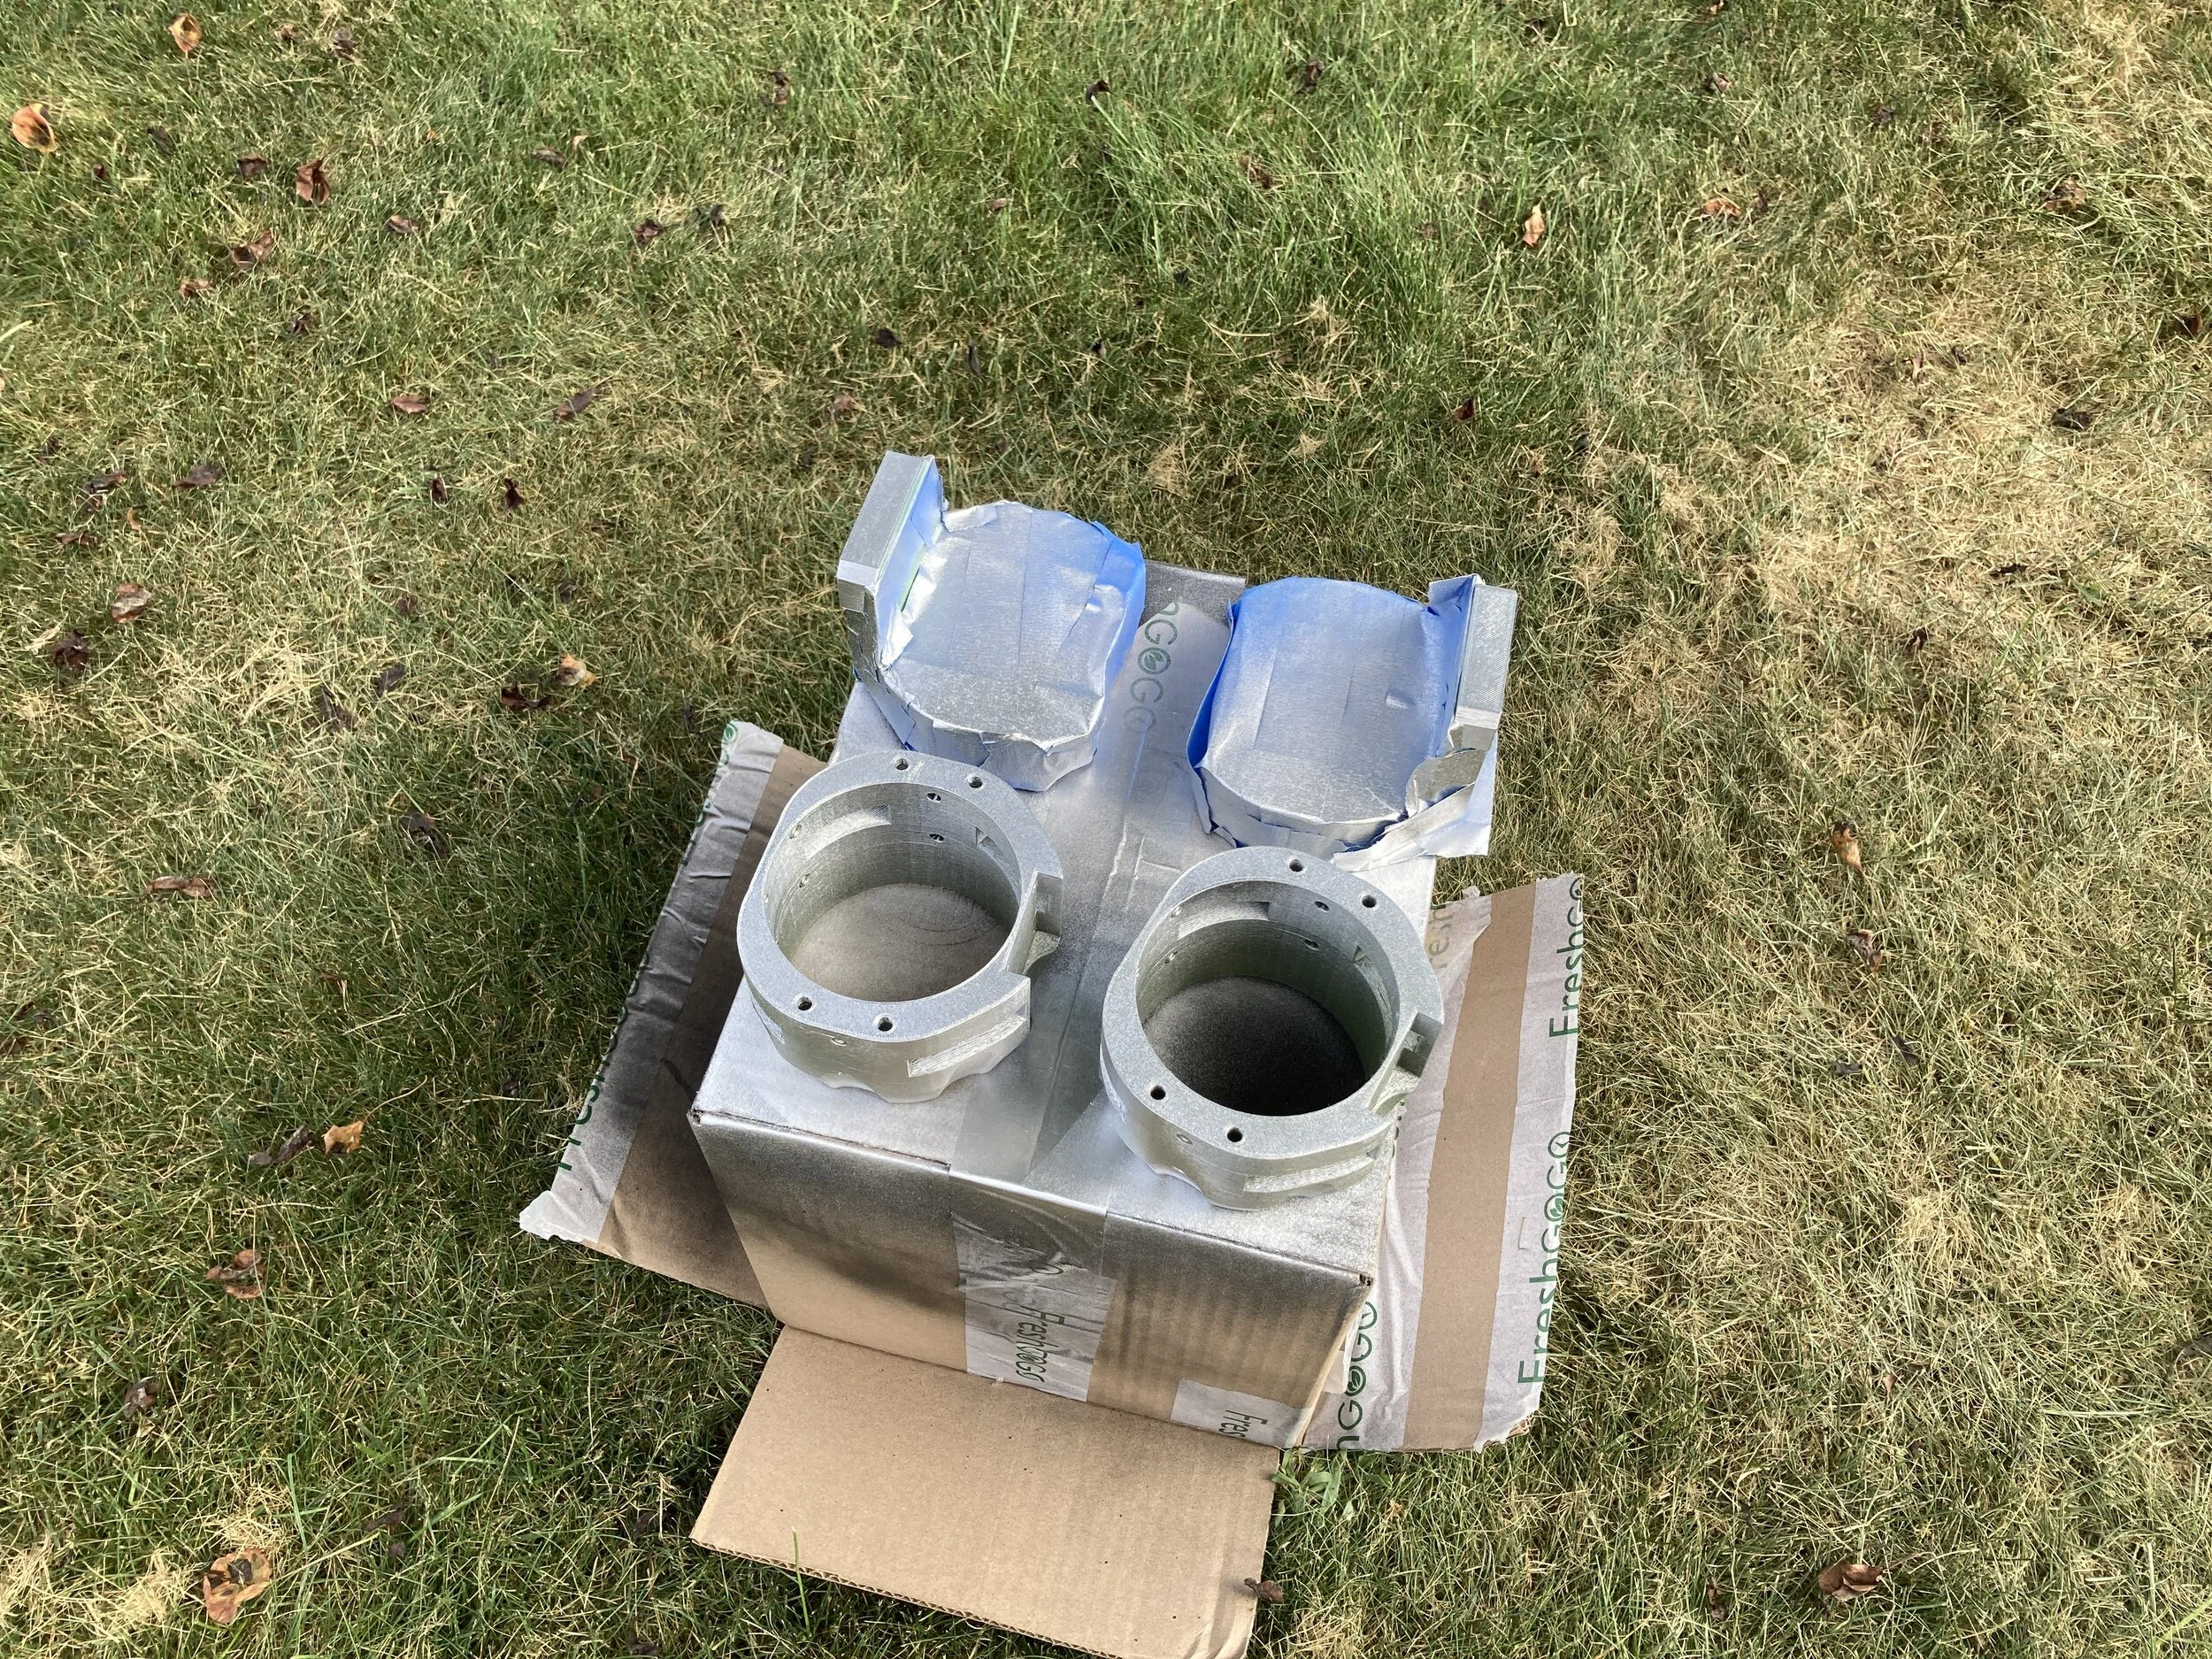


PAINT


It all begins with an idea. Maybe you want to launch a business. Maybe you want to turn a hobby into something more. Or maybe you have a creative project to share with the world. Whatever it is, the way you tell your story online can make all the difference.

Fire Control Wheel
I’d like to flex this wiring once again, everything is in its channel and squared away


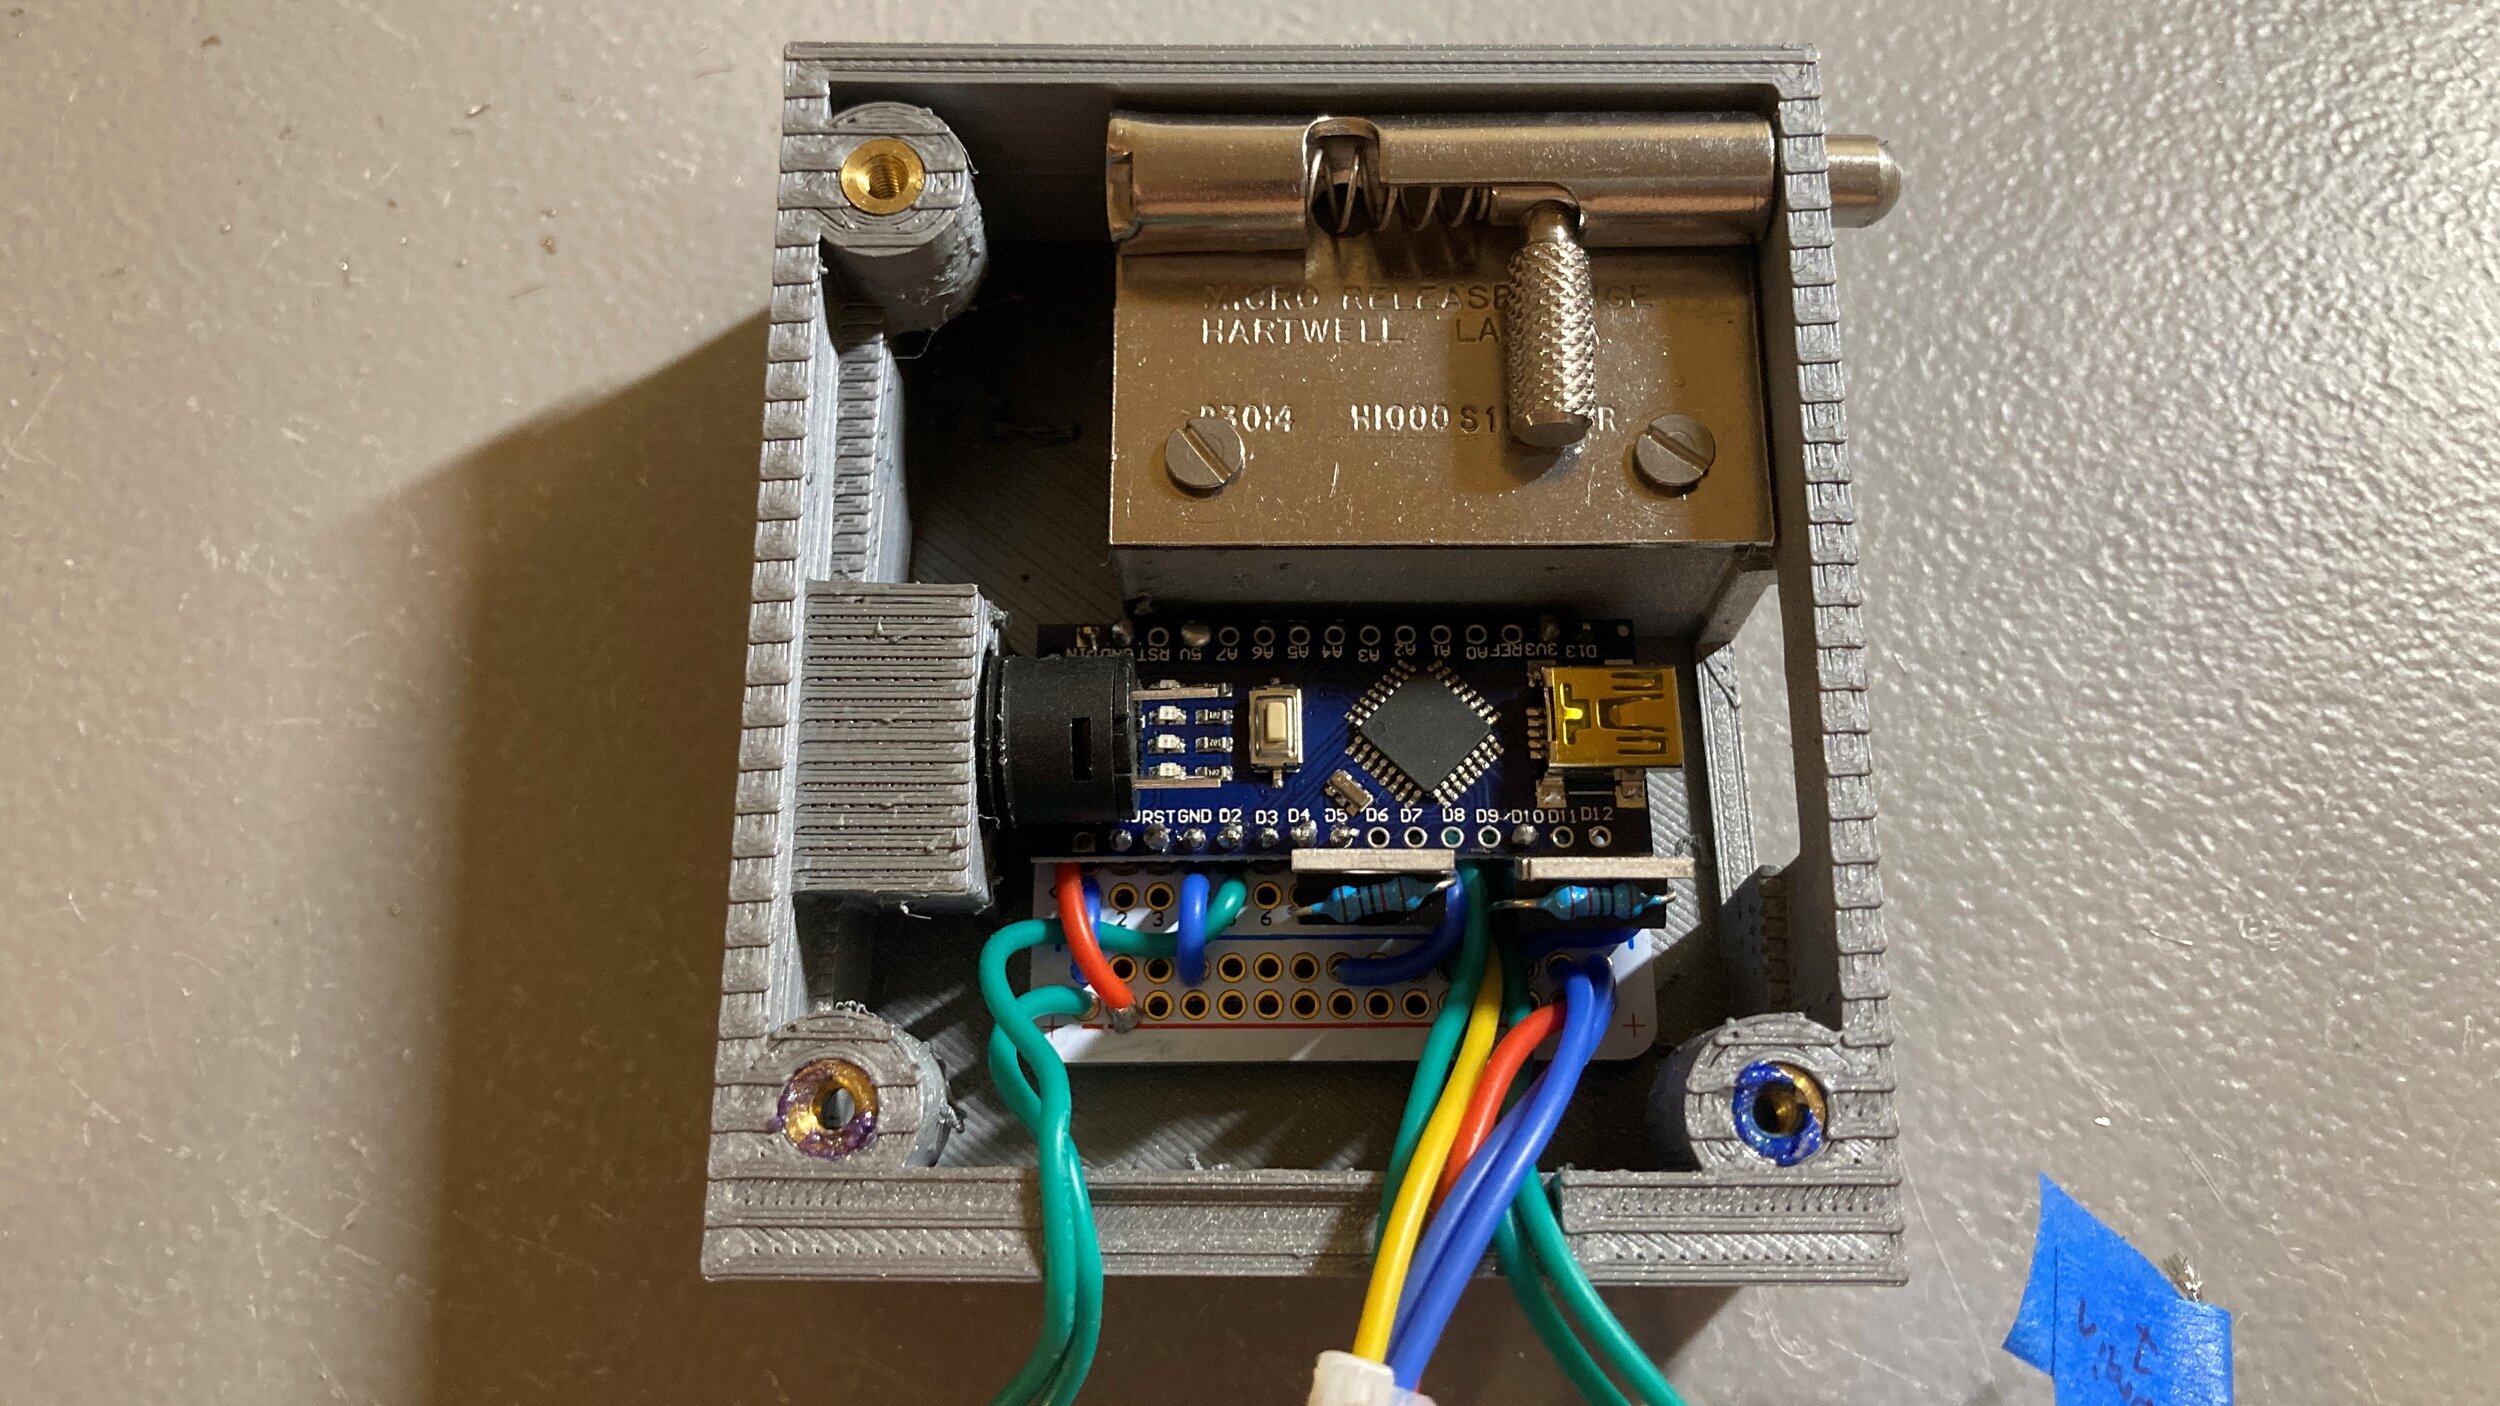
Drawing wiring Diagram - connectons simplified - not making a PCB so this was good enoungh [REPLACE IMAGE]
Actual Diagram


Un the previous, battery relocated elsewhere (more on that later)
Instead my Arduino nano lived up here, in addition to an on switch and a